<!DOCTYPE html>

<html lang="en">


<head>

    <meta charset="UTF-8">

    <meta name="viewport" content="width=device-width, initial-scale=1.0">

    <title>The Ultimate Handpan Scratch Removal Guide</title>

    <style>

        body {

            font-family: Arial, sans-serif;

            line-height: 1.6;

            margin: 20px;

            padding: 20px;

            background-color: #f4f4f9;

            color: #333;

        }


        h2, h3, h4 {

            color: #0056b3;

        }

    </style>

</head>


<body>

    <h2>The Ultimate Handpan Scratch Removal Guide</h2>

    <p>As a handpan owner, you are likely enamored with its beautiful appearance and captivating sound. However, like any instrument, handpans are susceptible to scratches and other forms of damage. This article is designed to provide you with a comprehensive guide on how to remove scratches from your handpan, ensuring it maintains its aesthetic appeal and functional excellence.</p>


    <h3>Understanding Handpan Material and Finish</h3>

    <p>Before embarking on scratch removal, it's essential to understand the material and finish of your handpan. Most handpans are made from nitrided steel or stainless steel, each with unique characteristics. Nitrided steel handpans have a protective layer formed through a heat treatment process, while stainless steel handpans offer natural corrosion resistance. The finish could be matte, glossy, or painted, impacting the approach to scratch repair.</p>


    <h3>Assessing the Damage</h3>

    <p>Scratches can range from surface-level abrasions to deeper gouges. Begin by carefully inspecting the affected area under good lighting to determine the depth and severity of the scratch. Surface scratches may often be handled with simple polishing, whereas deeper gouges might require professional intervention.</p>


    <h3>Basic Scratch Removal Techniques</h3>


    <h4>1. Cleaning the Surface</h4>

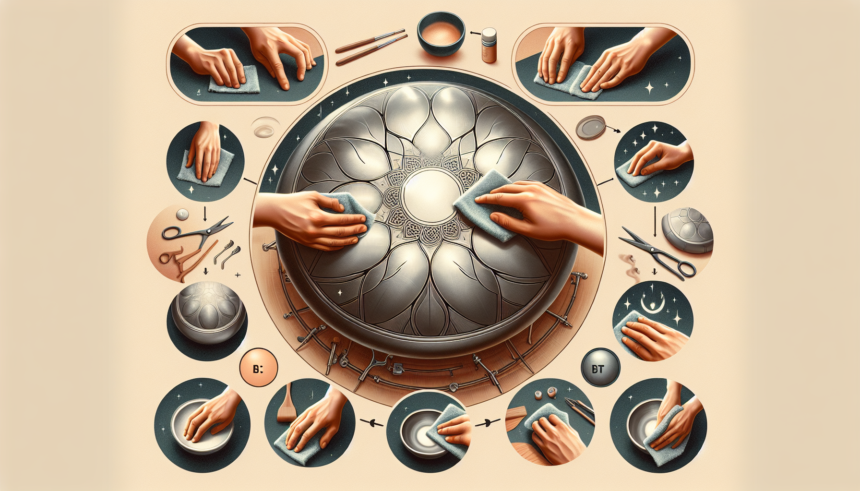
    <p>Start by cleaning the handpan with a mild soap and warm water solution to remove any dirt or debris. This ensures that you are not rubbing particles into the surface, which could exacerbate the scratches. Dry the handpan thoroughly with a soft cloth.</p>


    <h4>2. Polishing Compounds</h4>

    <p>Use a metal polishing compound suitable for your handpan’s material. Apply a small amount of the compound onto a clean, soft cloth, and rub it gently onto the scratched area in circular motions. Continue until the scratch appears less visible. Always test the compound on a small inconspicuous area first to ensure it does not harm the finish.</p>


    <h4>3. Applying Oil</h4>

    <p>After polishing, applying a light layer of oil can help protect the handpan and enhance its shine. Use oil suitable for musical instruments, and apply with a soft cloth, spreading evenly across the surface. This can also help to disguise minor scratches.</p>


    <h3>Advanced Scratch Removal Techniques</h3>


    <h4>1. Wet Sanding for Deeper Scratches</h4>

    <p>If the scratch is more pronounced, consider wet sanding, a technique best suited for more experienced users. Use very fine grit sandpaper (1,000-2,000 grit), and with water, gently sand over the scratch in a back-and-forth motion, being careful to follow the grain of the metal. Patience and care are crucial to avoid over-sanding, which can alter the surface.</p>


    <h4>2. Using a Handpan Repair Kit</h4>

    <p>Some manufacturers offer repair kits tailored for handpans. These kits may include specially formulated compounds and instructions specifically for their instruments. If such a kit is available for your handpan model, it is often worth the investment for more seamless repairs.</p>


    <h3>Professional Repair and Maintenance</h3>

    <p>For significant or sensitive damage, it may be best to consult with a professional handpan repairer. These professionals have the experience and tools necessary to restore your handpan correctly. Regular maintenance, including tuning, will also ensure your handpan continues to function and look its best.</p>


    <h3>Preventing Future Scratches</h3>

    <p>Preventing scratches is preferable to repairing them. Invest in a high-quality handpan case, and always handle your handpan with clean hands. Avoid dropping or banging the instrument, and store it in a stable, climate-controlled environment to protect against weather-related damage.</p>


    <h3>Conclusion</h3>

    <p>The handpan is a delicate yet robust instrument that requires proper care to maintain its aesthetic and auditory beauty. While scratches are almost inevitable with regular use, knowing how to treat them and when to seek professional help can extend the life of your instrument. With proper maintenance and a bit of diligence, your handpan will continue to provide you joy and inspiration for many years.</p>


    <h3>FAQs</h3>

    <h4>1. Can all scratches be removed from a handpan?</h4>

    <p>Not all scratches can be completely removed, especially if they are very deep. However, minor scratches can often be mitigated with careful polishing and maintenance.</p>


    <h4>2. Is it safe to use regular metal polish on a handpan?</h4>

    <p>It's important to use a polish that is specifically designed for the particular material of your handpan. Some polishes may be too abrasive or chemically reactive and could damage the finish.</p>


    <h4>3. How often should I polish my handpan?</h4>

    <p>Polishing should be done sparingly, only when necessary, as excessive polishing can wear down the protective layers of the handpan. Generally, twice a year is sufficient unless otherwise needed.</p>


    <h4>4. Can scratches affect the sound of my handpan?</h4>

    <p>Surface scratches generally do not affect the sound quality. However, deep gouges could impact tonal integrity, and in such cases, professional repair is recommended.</p>


    <h4>5. Should I oil my handpan after every use?</h4>

    <p>Oiling your handpan after each use is unnecessary and could lead to an oily buildup. Instead, apply oil periodically during regular maintenance to help preserve its finish.</p>


</body>


</html>The Ultimate Handpan Scratch Removal Guide

Leave a comment


