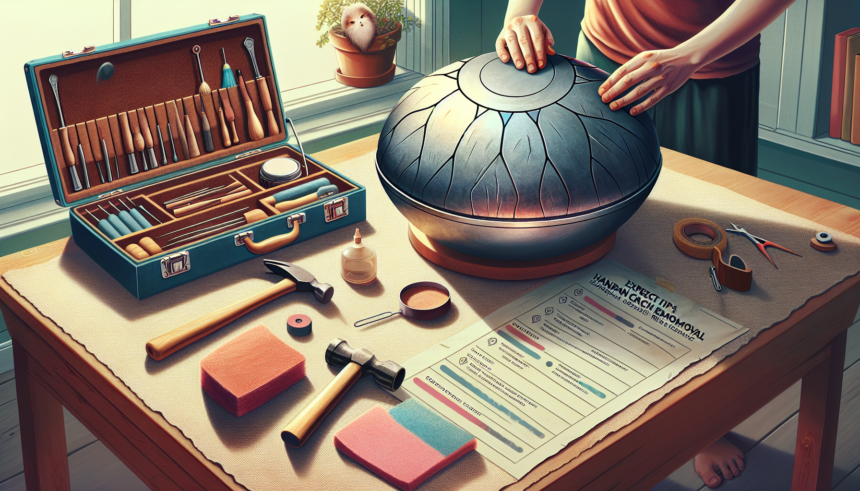
The handpan is a unique and enchanting musical instrument that has found its place in the hearts of many musicians and listeners. However, given its delicate nature, it is susceptible to scratches and minor damages over time. These imperfections can not only affect the aesthetic qualities of the handpan but also its acoustics. Here, we share expert tips for removing scratches and maintaining your handpan in pristine condition.
Understanding the Handpan Material
Handpans are usually made from nitrided steel, stainless steel, or a combination of both. The type of material significantly influences how you should approach scratch removal. Understanding the material is the first step toward effective maintenance.
- Nitrided Steel: Known for its durability and resistance to corrosion, but it can be vulnerable to deep scratches.
- Stainless Steel: Typically more resistant to scratches but may have unique maintenance requirements.
Assess the Damage
Before jumping into the scratch removal process, it’s crucial to assess the extent of the damage. Light scratches can often be addressed with simple home remedies, while deeper scratches might necessitate professional intervention.
- Light Scratches: These are superficial and often just affect the top layer of the finish.
- Deep Scratches: These penetrate deeper into the material and may also affect the sound quality of the handpan.
Tools and Materials Required
To effectively remove scratches from your handpan, you will need a few essential tools and materials:
- Microfiber cloth
- Fine-grit sandpaper (600 to 2000 grit)
- Polishing compound
- Protective gloves
- Masking tape
- Soft brush
Step-by-Step Scratch Removal Process
1. Cleaning the Handpan
Start by thoroughly cleaning the handpan to remove any dirt or grime that could exacerbate scratches. Use a soft brush to gently clean the surface, followed by wiping with a damp microfiber cloth. Allow it to dry completely before proceeding.
2. Masking the Area
For scratches localized in a specific area, use masking tape to isolate the scratch. This step will prevent you from accidentally sanding or polishing areas that don’t require it.
3. Sanding the Scratch
Use fine-grit sandpaper to gently sand the scratched area. Start with 600-grit sandpaper and progressively move to a finer grit (up to 2000-grit) for a smoother finish. Sand in a circular motion and frequently check the progress to avoid over-sanding.
4. Applying Polishing Compound
After sanding, apply a small amount of polishing compound to the scratched area. Using a clean microfiber cloth, buff the area in a circular motion. This step will help restore the finish and blend the sanded area with the rest of the handpan.
5. Final Cleaning
Once you’re satisfied with the scratch removal, clean the handpan again using a damp microfiber cloth to remove any residual polishing compound. Dry it thoroughly with a soft cloth.
Prevention is Better than Cure
While understanding how to remove scratches is essential, preventing them in the first place is always preferable. Here are a few preventative measures to consider:
- Always store your handpan in a protective case when not in use.
- Avoid playing with hard or sharp objects that could scratch the surface.
- Regularly clean your handpan to prevent dirt buildup, which can cause scratches over time.
When to Seek Professional Help
Not all scratches can be resolved at home, especially if they are deep or if you’re unsure about the process. In such cases, it’s best to consult with a professional who specializes in handpan maintenance and repairs.
- Deep scratches that affect the acoustic performance.
- Oxidation or rust spots that accompany scratches.
- Uncertainty about the material or repair process.
Potential Risks and Considerations
Removing scratches from a handpan is a delicate process and comes with its set of risks. Consider the following points before undertaking any scratch removal:
- Over-sanding can lead to the removal of too much material, altering the sound.
- Using the wrong type of polishing compound can lead to an uneven finish.
- Improper cleaning afterward may leave residues that harm the instrument over time.
Conclusion
Maintaining a handpan in excellent condition involves a blend of routine care and knowing how to address issues as they arise. While minor scratches can often be managed at home with the right tools and techniques, deeper damage may require professional attention. Implementing preventative measures, such as proper storage and gentle handling, will also go a long way in preserving the integrity and beauty of your handpan. Always assess the damage carefully and proceed with caution to ensure the best outcome for your cherished instrument.
FAQs
1. Can I use regular metal polish on my handpan?
No, it’s best to use polishes specifically recommended for handpans or fine steel to ensure you don’t damage the instrument’s finish or sound quality.
2. How often should I clean my handpan to prevent scratches?
Regular cleaning, ideally after every session, will help prevent dirt and grime buildup, which can lead to scratches over time. Always use a soft, damp cloth for cleaning.
3. What should I avoid when sanding the scratch?
Avoid using coarse sandpaper, which can create more damage, and always sand in gentle, circular motions. Be patient and cautious with your approach.
4. Is it safe to use a scratch removal kit designed for cars on my handpan?
Generally, no. Car scratch removal kits may contain harsh chemicals or materials not suitable for handpans. Always stick to products specifically recommended for handpans or fine musical instruments.
5. When should I consider professional repair instead of a DIY approach?
Deep scratches, those affecting the instrument’s acoustics, or if you are uncertain about the repair process, should all be referred to a professional. This ensures the integrity and longevity of your handpan.


