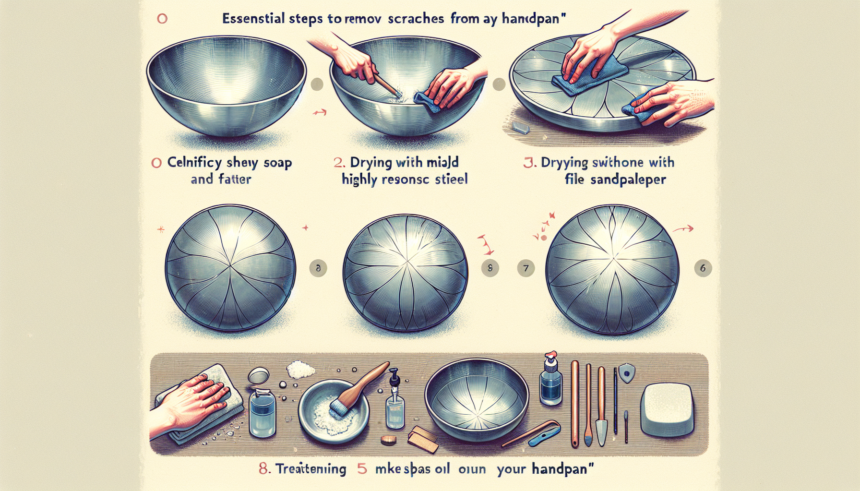
Handpans are mesmerizing musical instruments that produce ethereal sounds, capturing the hearts of musicians worldwide. However, like any musical instrument, handpans are susceptible to surface damage such as scratches. Learning how to properly remove these scratches can help maintain the aesthetic beauty and tonal integrity of your handpan. Follow this guide to ensure your instrument remains in top-notch condition.
Step 1: Assess the Damage
Before attempting any repair, it’s crucial to assess the extent of the damage on your handpan. Not all scratches warrant the same level of attention. Some might just be minor surface blemishes, while others could be deeper gouges affecting the instrument’s sound. By thoroughly inspecting the scratch, you can determine the best course of action.
- Minor scratches: These are shallow and usually only affect the surface.
- Moderate scratches: These may have penetrated deeper but have not altered the handpan’s structure.
- Deep scratches: These are significant and could affect sound quality and structural integrity.
Step 2: Gather Appropriate Materials
Once you’ve assessed the damage, gather the materials you’ll need for the repair. These typically include:
- Microfiber cloths
- Metal polish or handpan-safe rust remover
- Sandpaper (various grits)
- Protective gloves
- Optional: a professional handpan repair kit
Step 3: Clean the Surface
Before starting any repair work, clean the surface of your handpan thoroughly. Use a microfiber cloth to wipe away any dust, dirt, or debris. This ensures that no additional particles will scratch the surface further during the repair process. If your handpan has any spots of rust, gently apply a handpan-safe rust remover and follow the manufacturer’s instructions.
Step 4: Address Minor Scratches
For minor to moderate scratches, metal polish can often do the trick. Here’s how to apply it:
- Ensure the handpan is secure on a soft surface to prevent any further damage.
- Apply a small amount of metal polish to a clean microfiber cloth.
- Gently rub the polished cloth in small, circular motions around the scratch. This will help smooth out the blemish and restore the handpan’s shine.
- Continue this process until the scratch is no longer visible.
- Wipe off any excess polish with a clean cloth.
Step 5: Handle Deeper Scratches
Deeper scratches require a more involved process. Sandpaper can help remove deeper gouges, but it must be used with caution:
- Begin with a lower grit sandpaper (e.g., 400-600 grit) to gently smooth out the scratch. Always sand in the direction of the grain to avoid creating additional marks.
- After the initial sanding, switch to a higher grit sandpaper (e.g., 1000-2000 grit) to further refine the surface.
- Once the area appears smoother, clean off any sanding residue with a microfiber cloth.
- Apply a small amount of metal polish to restore the original luster.
Step 6: Professional Assessment for Severe Damage
If the damage appears too severe for DIY methods, it’s best to seek professional help. Handpan makers and specialized repair technicians possess the expertise and tools required to fix deeper scratches without compromising the instrument’s integrity. Professional assessment ensures that any underlying issues affecting sound quality are addressed adequately.
Step 7: Prevent Future Scratches
Prevention is always better than cure. Here are some tips to prevent future scratches on your handpan:
- Always handle your handpan with clean hands to avoid transferring dirt and oils.
- Store your handpan in a protective case when not in use.
- Avoid placing the handpan on rough or dirty surfaces.
- Regularly clean and maintain the surface with appropriate cloths and polishes.
Conclusion
Taking care of your handpan by removing scratches not only enhances the instrument’s appearance but also preserves its unique sound quality. By following the essential steps outlined above, you can address minor to moderate scratches effectively while ensuring deeper scratches receive the appropriate professional attention. Ultimately, regular maintenance and preventive measures will help keep your handpan in pristine condition for years to come.
Frequently Asked Questions (FAQs)
1. Can I use any metal polish on my handpan?
No, it’s important to use a metal polish specifically designed for handpans or one that is confirmed to be safe for the type of metal your handpan is made from. Some polishes may be too abrasive or chemically reactive, potentially damaging the instrument.
2. What should I do if the metal polish doesn’t remove the scratch?
If metal polish doesn’t work, you may need to use fine-grit sandpaper as described in Step 5. However, be cautious and patient with this process to avoid further damage. For extensive or deep scratches, it’s best to consult a professional.
3. How often should I clean and maintain my handpan?
It’s recommended to clean your handpan after each use to remove oils and dirt. For comprehensive maintenance including polishing, doing so once every month should suffice, depending on how frequently you play and the environment where the instrument is stored.
4. Can scratches affect the sound quality of my handpan?
Minor surface scratches usually don’t affect sound quality, but deep scratches and dents can alter the instrument’s tuning and tonal characteristics. Addressing these promptly is crucial to maintaining the handpan’s performance.
5. Can I repair deep scratches myself?
While minor and some moderate scratches can be managed at home, deep scratches often require professional assessment to ensure that the structural integrity and sound quality of the handpan are not compromised. Attempting to fix them without expertise can sometimes worsen the damage.


