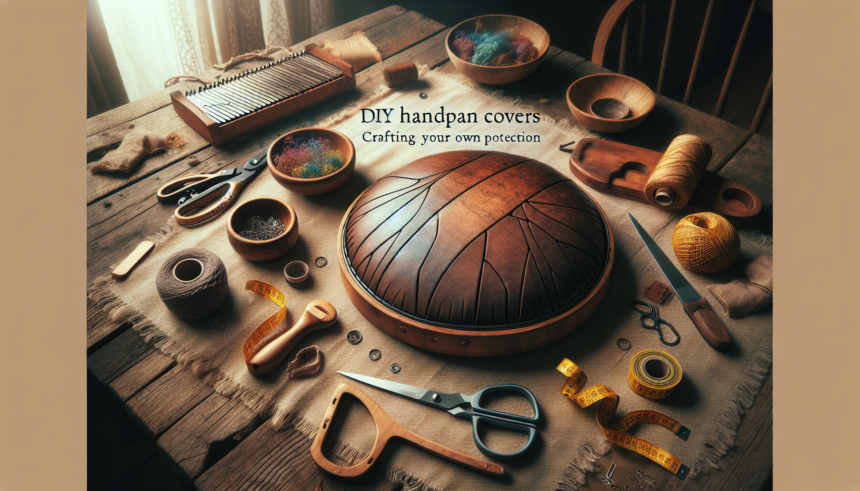
The handpan is a unique and delicate musical instrument that requires dedicated care and protection. Given its high cost and fragility, ensuring your handpan is adequately protected is essential. While there are plenty of commercial options available, these can often be quite expensive. However, crafting a DIY handpan cover is a cost-effective and personalized way to ensure your instrument remains in good condition. This guide will walk you through the process of creating your very own handpan cover.
Why Make a DIY Handpan Cover?
With the right materials and a bit of effort, you can create a cover that not only protects your handpan from dust, moisture, and minor impacts but also reflects your personal style. Here are some reasons why you might want to make your own cover:
- Cost-effective: Commercial covers can be pricey. Crafting your own allows you to save money.
- Customization: You can choose materials, colors, and designs that match your personal taste.
- Fun Project: Crafting can be a fulfilling and enjoyable activity.
- Skill Development: Improving your sewing and crafting skills can be rewarding.
Materials Needed
Before you start, gather the following materials:
- Tough, durable fabric (such as canvas or denim) for the outer layer
- Soft, cushioned fabric (such as fleece or felt) for the inner lining
- Strong thread
- Sewing needle or sewing machine
- Elastic band or drawstring
- Scissors
- Measuring tape
- Chalk or fabric marker
Step-by-Step Guide to Crafting Your Handpan Cover
1. Measuring Your Handpan
Start by measuring your handpan. You will need to measure the diameter across the widest point and the height from the bottom to the top of the dome. These measurements will help you determine the size of the fabric pieces you need to cut.
2. Cutting the Fabric
Use these measurements to cut out two circles from both the outer fabric and the inner lining. The diameter of these circles should be the handpan’s diameter plus an additional 8-10 inches. This extra material will provide room for the handpan and create space for the elastic band or drawstring.
For example, if your handpan has a diameter of 22 inches, cut out circles that are 30-32 inches in diameter.
3. Sewing the Layers Together
Place the outer fabric and the inner lining together, with the wrong sides facing each other. Sew these layers together around the edge, leaving a small gap where you will later insert the elastic band or drawstring.
4. Adding the Elastic Band or Drawstring
Fold the edge of the sewn fabric over by about an inch and sew it down to create a hem all around the cover, leaving a small opening where you can insert the elastic band or drawstring. This will create a channel for the elastic band or drawstring, allowing you to tighten the cover around the handpan.
If you’re using an elastic band, cut it to be approximately 2-3 inches smaller than the circumference of the cover. Use a safety pin to thread the elastic band through the hem channel. Once threaded, sew the ends of the elastic together and stitch the gap closed.
If you’re using a drawstring, thread it through the channel and tie knots at each end to prevent it from slipping out. This will allow you to pull the drawstring to secure the cover around the handpan.
5. Finishing Touches
After securing the elastic band or drawstring, inspect the cover for any loose threads or imperfections. Trim any excess threads and ensure all seams are secure and well-stitched.
Optionally, you can add extra padding or cushioning to the inside of the cover for additional protection. This can be done by adding an extra layer of soft fabric or padding material between the outer fabric and the inner lining.
Care and Maintenance of Your Handpan Cover
To ensure your DIY handpan cover remains in good condition, follow these care and maintenance tips:
- Regular Cleaning: Depending on the materials used, you can wipe the outer surface with a damp cloth and mild detergent. For deeper cleaning, hand wash the cover in cold water and let it air dry.
- Avoid Harsh Conditions: Keep the cover away from extreme temperatures, moisture, and direct sunlight to prevent damage and wear.
- Inspect Regularly: Periodically check the cover for any signs of wear and tear. Repair any loose seams or small holes immediately to maintain its protective qualities.
Personalizing Your Handpan Cover
One of the best parts of crafting your own handpan cover is the ability to personalize it to your liking. Here are a few ideas for adding a unique touch to your cover:
- Paint or Dye: Use fabric paints or dyes to create custom designs, patterns, or even your favorite colors.
- Embroidery: Add embroidered designs, your initials, or music-related motifs for a special touch.
- Pockets: Sew on small pockets to hold accessories like mallets, tuning tools, or sheet music.
- Patchwork: Combine different fabrics or materials to create a patchwork design that stands out.
Conclusion
Crafting your own DIY handpan cover is a practical and fulfilling way to protect your beloved instrument. By following this guide, you can create a cover that not only safeguards your handpan but also reflects your personal style and creativity. With the right materials and a bit of effort, your handpan will remain safe and sound, ready to produce beautiful sounds for years to come. So, gather your materials, roll up your sleeves, and let your creativity shine!
FAQs
1. Can I use any fabric for my handpan cover?
While you can technically use a variety of fabrics, it’s best to choose tough, durable materials like canvas or denim for the outer layer and soft, cushioned fabrics like fleece or felt for the inner lining. These choices provide both protection and comfort for your handpan.
2. Do I need a sewing machine to make a DIY handpan cover?
A sewing machine is not strictly necessary, but it can make the process faster and the stitches more durable. You can hand-sew the cover with a strong needle and thread if you don’t have a sewing machine.
3. How much fabric do I need?
The amount of fabric needed depends on the size of your handpan. Typically, 1.5 to 2 yards of both the outer and inner fabric should suffice for most standard-sized handpans.
4. How can I add extra protection to my handpan cover?
For additional protection, consider adding extra padding or cushioning between the outer fabric and the inner lining. You can also reinforce the cover’s seams and edges with double stitching to ensure durability.
5. Can I wash my handpan cover?
Yes, you can wash most handpan covers, but it’s essential to follow the care instructions for the fabric you’ve used. Generally, hand washing in cold water and air drying is the safest method to prevent damage and maintain the cover’s shape.


