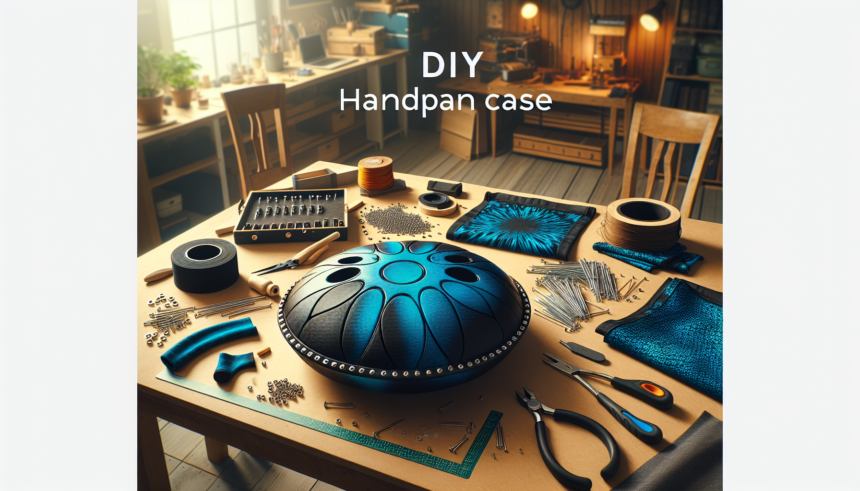
Transporting a handpan can be a delicate endeavor due to its unique shape and the potential for damage. A custom case not only offers the necessary protection but also adds a personal touch to your instrument housing. Making your own DIY handpan case can be a fulfilling project that ensures your instrument stays safe while reflecting your individual style. In this article, we’ll walk you through the process of crafting a custom handpan case from start to finish.
Materials and Tools You Will Need
The process of building your custom handpan case starts with gathering the required materials and tools. Here’s what you will need:
- Materials:
- Foam (preferably high-density)
- Plywood or similar material for the case’s base
- Fabric for covering (e.g., canvas, nylon)
- Velcro or zippers for sealing the case
- Glue (industrial or hot glue)
- Handles and straps
- Tools:
- Measuring tape
- Scissors and utility knife
- Drill and screws (if attaching handles)
- Stapler (for fabric)
Step-by-Step Guide
Step 1: Measuring and Planning
You need to start by taking precise measurements of your handpan. Measure the diameter, height, and curvature of the instrument. These dimensions will be crucial for cutting your materials accurately.
Next, sketch a plan based on your measurements. Decide the shape and design of your case, where the handles will go, and how it will open and close. Having a clear plan will make the construction process smoother and more efficient.
Step 2: Creating the Frame
Using the plywood, cut out two circular pieces to form the top and bottom of your handpan case. These pieces should be slightly larger than the handpan itself to provide a cushioning buffer. Sand the edges of the plywood to prevent splinters.
The sides of the case can be made using strips of plywood or a different sturdy material. Ensure these side strips are of the exact height desired, typically a bit taller than the handpan to accommodate foam padding on the inner surface.
Step 3: Adding Padding
For the inside padding, cut the foam to match the interior shape of the case. You will need thick, high-density foam for optimal protection. Place the foam at the bottom, sides, and top inside the case. The foam pieces should fit snugly to prevent the handpan from moving around inside.
Secure the foam padding using glue. Ensure it adheres well and leaves no gaps where the handpan could be exposed.
Step 4: Covering the Case
With the structure and padding in place, it’s time to cover the exterior. Cut your chosen fabric to fit around the plywood structure. Staple or glue the fabric tightly to the frame, ensuring it is smooth and free of wrinkles.
This fabric layer not only provides an aesthetic finish but also adds an extra layer of protection against scratches and minor impacts.
Step 5: Attaching Handles and Straps
Handles and straps are essential for the portability of your handpan case. Attach sturdy handles to the side or top of the case using screws and a drill. If you prefer shoulder straps or backpack-style straps, secure them in a similar fashion, ensuring they can comfortably support the weight of the handpan.
Step 6: Adding a Locking Mechanism
Finally, you need a method to keep the case securely closed. Velcro strips can be used around the case’s edges for an easy opening and closing mechanism. Alternatively, zippers can be sewn into the fabric cover for added security.
Testing and Final Adjustments
After constructing the case, it’s crucial to test it for fit and protection. Place your handpan inside and close the case, checking for any excessive movement. Shake the case gently to ensure the instrument doesn’t shift or rattle. Make any necessary adjustments, such as adding more padding or reinforcing the handles.
Using your handpan case for a few weeks can help you identify any areas needing improvement. Don’t be afraid to tweak your design to better suit your needs and preferences.
Decorative Touches
Once you’re satisfied with the case’s functionality, consider adding some decorative touches. This could be paint, personalized patches, or even embroidery. A unique exterior can help you easily identify your case and add a personal flair that makes it stand out.
Conclusion
Creating a custom handpan case is a rewarding project that combines practicality with personalized craftsmanship. By following this guide, you can ensure your handpan is well-protected while also expressing your creative side. The process may take some time and effort, but the end result will be a durable and unique case that aptly reflects your style and dedication to preserving your instrument.
FAQs
-
Q1: What type of foam is best for padding?
High-density foam is the best option for padding your handpan case. It provides excellent protection against impacts and keeps the instrument securely in place.
-
Q2: Can I use other materials instead of plywood for the case frame?
Yes, you can use other sturdy materials like hard plastic or lightweight metals. The key is to ensure the material is strong enough to provide structural integrity and protect the instrument.
-
Q3: How do I ensure the handles are strong enough?
Use strong handles and secure them with screws into the frame. Test the handles by lifting the case with weights to ensure they can comfortably support the handpan’s weight.
-
Q4: What are some alternative locking mechanisms?
In addition to Velcro and zippers, you can use clasps, buckles, or even magnetic snaps to keep the case securely closed.
-
Q5: Can I add wheels to my handpan case?
Yes, adding wheels can make transportation easier. Choose sturdy wheels and attach them securely to the bottom of the case, ensuring they do not interfere with the stability or protection of the instrument.


