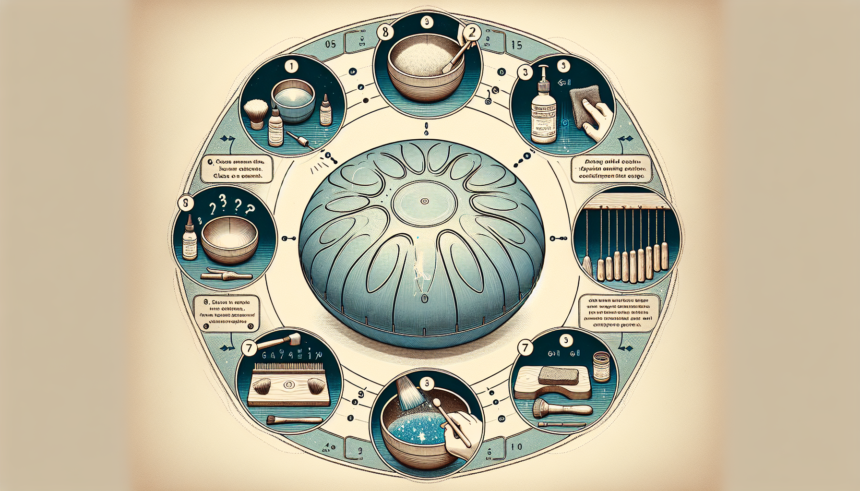
The handpan, a musical instrument known for its ethereal sounds and beautiful craftsmanship, requires regular maintenance to ensure it continues to produce optimal sound quality. Cleaning your handpan properly is essential to protect its unique tonal characteristics and prolong its lifespan. This step-by-step guide will walk you through the best practices for cleaning your handpan effectively.
Step-by-Step Handpan Cleaning
Step 1: Gather Cleaning Supplies
Before you begin, gather the necessary cleaning supplies. You will need:
- Microfiber cloths
- Isopropyl alcohol or distilled water
- Handpan-friendly oil (such as Froglube or Phoenix Oil)
- A soft-bristled brush (optional)
- Protective gloves (optional)
Step 2: Prepare the Handpan
Place your handpan on a soft, stable surface to prevent any damage during the cleaning process. If possible, work in a well-ventilated area to avoid inhaling any fumes from the cleaning products.
Step 3: Wipe Down the Handpan
Using a microfiber cloth lightly dampened with distilled water or isopropyl alcohol, gently wipe down the entire surface of the handpan. This initial wipe helps remove any dust, dirt, or grime. Be sure to clean both the top and bottom side of the instrument.
Step 4: Clean the Nitriding Layer
The nitriding layer is crucial for protecting your handpan from rust. Use a soft-bristled brush to gently clean the dimples and any intricate areas where dirt may accumulate. Avoid using harsh chemicals or abrasive materials that could damage the nitriding layer.
Step 5: Apply Handpan-Friendly Oil
Once the handpan is clean and dry, apply a small amount of handpan-friendly oil to a clean microfiber cloth. Gently rub the oil onto the surface of the handpan in circular motions. This oil application helps to protect the metal from moisture and maintains the instrument’s beautiful finish. Be careful not to over-apply the oil, as excess oil can attract dust and cause buildup.
Step 6: Buff and Polish
Allow the oil to sit on the handpan for a few minutes. Then, use a dry microfiber cloth to buff and polish the surface. This step ensures any excess oil is removed and leaves your handpan with a beautiful, shiny finish.
Step 7: Store the Handpan Properly
After cleaning, it’s important to store your handpan in a safe, dry place. Use a protective case or cover to shield it from dust and potential damage. Avoid extreme temperatures and humidity, as these can affect the sound quality and longevity of the instrument.
Conclusion
Maintaining the cleanliness of your handpan is crucial for preserving its optimal sound quality and extending its lifespan. By following these simple steps, you can ensure that your handpan remains in excellent condition, providing you with beautiful, resonant tones for years to come. Regular cleaning, careful handling, and proper storage are key to enjoying the full potential of this unique and captivating instrument.
FAQs
1. How often should I clean my handpan?
It’s recommended to clean your handpan after every 10-15 hours of playing or at least once a month, depending on your environment and playing frequency. Regular cleaning helps maintain its sound quality and appearance.
2. Can I use regular oil for cleaning my handpan?
No, it’s best to use handpan-specific oils like Froglube or Phoenix Oil. Regular oils may not provide the necessary protection and could potentially damage the instrument.
3. What should I do if my handpan gets rusty?
If rust spots develop, use a soft-bristled brush and isopropyl alcohol to gently clean the affected area. Apply a handpan-friendly oil afterward to protect the metal. If the rust is extensive, consult a professional for restoration.
4. Is it safe to play my handpan immediately after cleaning?
Yes, once the oil has been buffed and excess residue removed, it’s safe to play your handpan. Ensure the surface is not slippery to avoid accidental slips while playing.
5. Can I use water to clean my handpan?
It’s best to use distilled water and avoid soaking the handpan. Excessive water exposure can lead to rust. Always dry the instrument thoroughly after cleaning.


